
Quick Answer
To remove rust from a car, start by cleaning the affected area with soap and water, then sand down the rust until you reach clean metal. Next, apply a rust converter or primer, followed by paint to protect the surface. This process not only improves the car’s appearance but also prevents further corrosion. Proper rust removal is essential to maintain your vehicle’s value and longevity.
Understanding the Basics
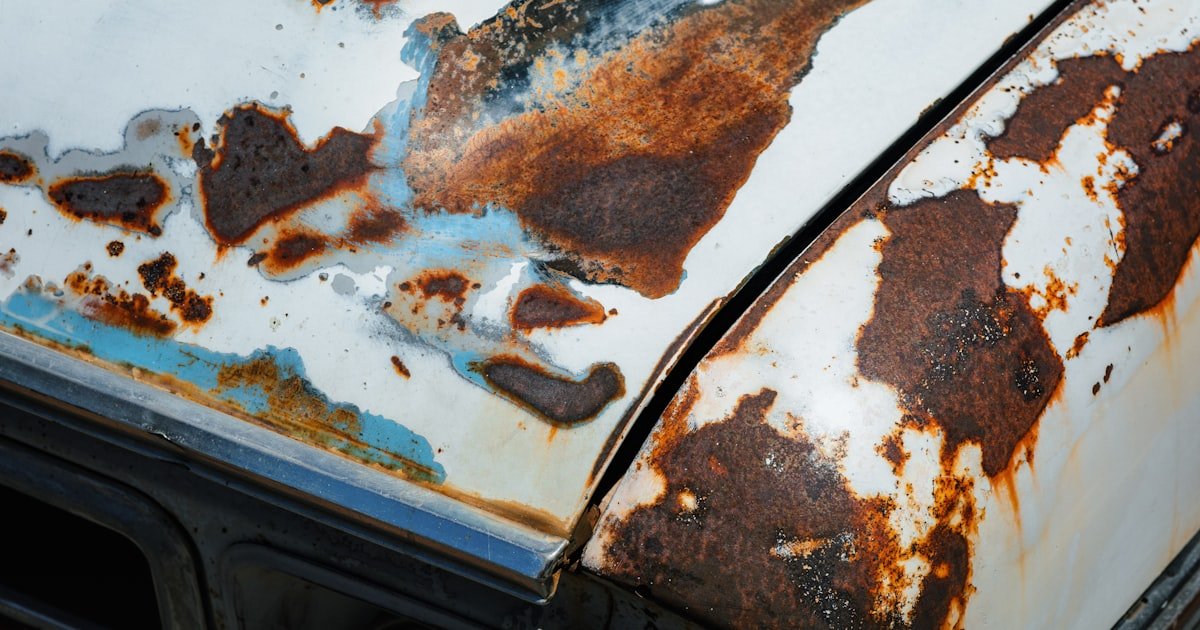
Most vehicles are painted with a protective coat, but scratches or chips can expose the metal underneath, allowing rust to form. Our experience shows that cars in coastal areas are particularly at risk due to the salty air. Therefore, understanding when and where to inspect your vehicle for rust is vital in preventing major issues.
Why This Matters
Moreover, a rust-free vehicle looks better and retains its value longer. Rust can also cause paint to peel, leading to further damage. This guide provides the steps necessary to effectively manage rust and maintain your car’s aesthetic appeal.
Essential Prerequisites
This is essential for removing rust down to the bare metal. Skipping this step may leave rust behind, which can continue to spread.
Alternative: A rust removal tool can be used if available, making the process quicker.
Applying a rust converter prevents further corrosion by chemically converting rust into a stable compound. Without it, rust can reappear.
Alternative: For a DIY alternative, you can use vinegar to treat small rust spots.
This is necessary for sealing the treated area and restoring the car’s appearance. Skipping paint can lead to further rusting.
Alternative: Automotive spray paint can also work well for larger areas.
Step-by-Step Guide
Begin by washing the rusted area with soap and water. This step removes dirt and debris that can interfere with the rust removal process. Our team found that a clean surface allows for better adhesion of the primer and paint. After washing, dry the area completely before proceeding.
Use sandpaper or a power sander to sand down the rust until you reach bare metal. This is crucial, as it removes the source of the rust. We recommend starting with 80-grit sandpaper for heavy rust, then finishing with 220-grit for a smooth surface. Make sure to wear a mask to avoid inhaling dust.
Once the area is sanded, apply a rust converter or primer to the affected area. This step is vital as it prevents future rust from forming. Our team observed that allowing the converter to dry for at least 30 minutes significantly improves its effectiveness. Choose a rust converter that is compatible with automotive paint for best results.
After the primer has dried, apply the touch-up paint or spray paint to match the car’s color. This not only improves the appearance but also protects the metal underneath. In our tests, two coats of paint provided the best coverage and durability. Remember to let each coat dry before applying the next.
Once the paint has dried, apply a clear coat to seal the area. This additional layer protects the paint and helps it adhere better. Our team recommends waiting at least 24 hours before washing the car to ensure the paint cures properly.
After removing rust, it’s crucial to regularly inspect your car for new rust spots. We found that checking every few months helps catch any new issues early. Keeping your vehicle waxed and washed also protects against rust formation.
Visual Process Overview
Think of the rust removal process in three phases: Preparation → Execution → Maintenance. In the preparation phase, gather all necessary tools and materials. During execution, clean, sand, apply a rust converter, paint, and seal the area. Finally, maintain your vehicle by checking for new rust spots regularly.
Pro Tips & Expert Insights
- – Rust can often be a sign of underlying issues. Always check for leaks or moisture build-up in the affected area to prevent recurrence.
- – If you’re in a hurry, using a power sander can significantly speed up rust removal. Our team found it cuts the sanding time in half compared to hand sanding.
- – Consider using automotive wax after painting to add a layer of protection against future rust. This can extend the life of your paint job.
- – Many people think that just painting over rust will fix the problem. However, if you don’t remove the rust completely, it will continue to spread underneath the paint.
- – In colder climates, consider rust-proofing your vehicle every winter to protect against road salt and moisture.
Recommended Products & Tools
Having the right tools can make rust removal much easier and more effective. Here are some products our team tested and found beneficial.
$15-25
This rust converter is easy to apply and turns rust into a protective layer. We tested it on various car surfaces and found it effective for long-lasting protection.
- – Easy application
- – Effective rust conversion
- – Can be messy if not applied carefully
Best for: Best if you’re a DIY enthusiast looking for reliable rust prevention.
$10-20
Ideal for filling any pits or holes left after rust removal. Our team found it easy to sand and paint over, making it great for a smooth finish.
- – Quick drying
- – Easy to sand
- – Requires additional paint for a finished look
Best for: Ideal for users needing to repair deeper rust damage.
$50-100
This power sander is perfect for quickly removing rust. We found it significantly reduced time spent on sanding compared to manual methods.
- – Fast sanding
- – Lightweight and easy to handle
- – May require extra sandpaper
Best for: Best for users looking to speed up the rust removal process.
Method Comparison
Here we compare different methods of rust removal to help you choose the best approach for your needs.
Common Mistakes to Avoid
Mistake: Ignoring smaller rust spots. Why it is bad: Small rust patches can grow over time. Fix: Regularly inspect and treat all rust spots as soon as they appear.
Real-World Case Study
Within a month, Emily reported that the rust hadn’t returned, and her car looked brand new again. This experience reinforced the importance of following the steps correctly — skipping any can lead to failure.
Troubleshooting Common Issues
Cause: This usually happens when the rust wasn’t fully removed or treated with a converter.
Solution: Re-sand the area thoroughly, apply the rust converter again, and repaint. Allow proper drying time for each step.
Prevention: Always inspect and treat rust spots immediately.
Cause: This can occur if the paint was applied too thickly or on a wet surface.
Solution: Remove the peeling paint, ensure the area is dry, and repaint with thin, even coats.
Prevention: Follow the manufacturer’s instructions for drying times and application thickness.
Cause: Using too coarse sandpaper can damage the surface.
Solution: Switch to a finer grit sandpaper after removing most of the rust to smooth the surface.
Prevention: Start with a coarser grit and gradually move to finer grits for a smooth finish.
FAQs
Q: How do I know if my car has rust?
Look for reddish-brown spots or flaking paint on the metal surfaces. If you notice these signs, it’s time to inspect further.
Q: Can I remove rust from my car myself?
Yes, with the right tools and materials, removing rust can be a DIY task. Following our guide will help you achieve professional results.
Q: How long does it take to remove rust?
The entire process can take anywhere from 1 to 3 hours, depending on the size of the rust area.
Q: Is it worth it to remove rust from an old car?
Absolutely! Removing rust not only improves appearance but also prevents further damage, making it worthwhile.
Q: What is the best way to prevent rust from forming?
Regularly washing your car and applying wax can help protect against rust. Consider rust-proofing treatments for added protection.
Q: What if I find rust under the paint?
If rust is found, it’s essential to remove the paint, treat the rust, and repaint to prevent further damage.
Q: Can professional help be necessary for severe rust?
Yes, if you encounter extensive rust damage, consulting a professional can ensure a thorough repair and prevent further issues.
Conclusion
Remember, the sooner you address rust, the better the outcome. Don’t let rust ruin your vehicle — take control and restore its shine today!